Introduction
Do you want to add color and life to your arts and crafts projects? If so, then you should try dyeing rice! Rice is a versatile material that can be dyed in many ways to create beautiful results. This blog post will provide a comprehensive guide on how to dye rice for your next project. We will discuss the different methods of dyeing rice and the materials and tools you need. Let’s get started!
What You’ll Need
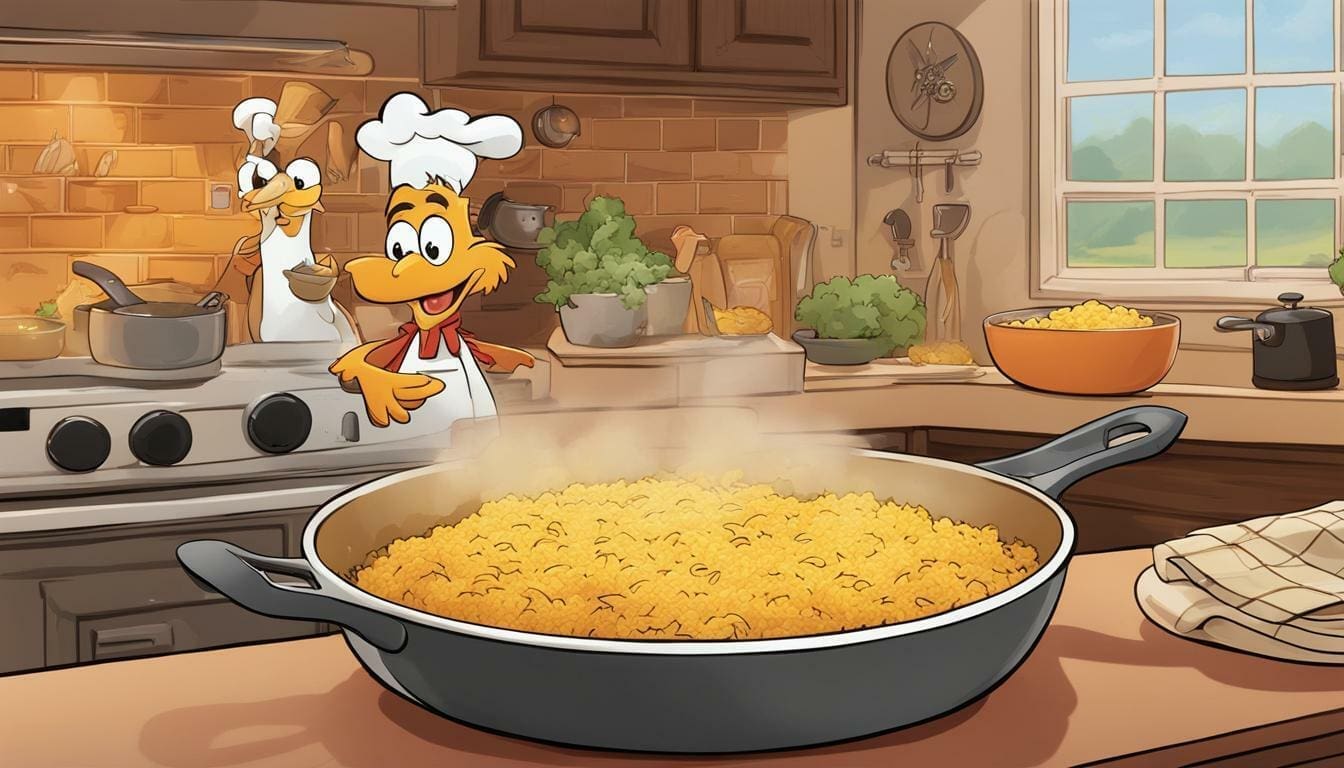
1. Rice
Rice is a versatile material that can be dyed in many ways. It can be used for clothing, fishnets, scarves, and any other craft project. The reason why rice is so popular for arts and crafts is that it absorbs dyes easily, making the colors wash out when the fabric is washed. Thus, a five-minute rinse with cold water (or a quick spin in the dryer) can remove most of the color from your fabric.
2. Dye
Dyes are available at many craft stores or online. They are usually provided in premeasured packages containing primary colors, such as red and blue or yellow and black dye mixtures.
3. Soft Material Like Cotton, Hemp, Or Flannel
A soft material is needed to wrap around the dyed rice to prevent the fabric from warping. Cotton is a beautiful textile that absorbs dyes quickly, while hemp and flannel are popular materials used by craftsmen because they are flexible and breathable. Choose a material that best fits your aesthetic.
4. Scissors Or Clothespins
Use scissors to cut reusable loops from a soft material like cotton or hemp. These can then be attached to the dyed rice (drying overnight) for later use as collars, scarves, or other decorative items.
5. Newspaper
The newspaper will be used to dry the dyed rice. The newspaper will allow air to circulate the rice, and the ink from the newspaper can add an extra layer of color to your artwork.
6. Bucket, Bowl, Or Washbasin
A bucket or bowl is needed to collect water during the dyeing process and soak the fabric overnight for maximum dye absorption. If you have a washbasin in your kitchen, then this can also serve as a bucket!
7. Bowls/Containers (Optional)
Use safe bowls or containers for food if you want to dye with non-traditional foods like blueberries, cherries, raspberries, etc.
The Process
1. Rinse the rice to remove excess dirt. Rice is a natural grain, and it can contain lots of impurities. Thus, you should rinse the rice in cold water before dyeing it.
2. Place the dry rice into a bucket/bowl to soak overnight in water mixed with an acid dye (if possible). Acid dyes are provided in premeasured packages containing primary colors, such as red and blue or yellow and black dye mixtures. These dyes are safe for use on raw foods like potatoes and apples.
3. Using scissors or clothespins, make a reusable loop or wrap it around the soaked rice. The reusable loop will be used as a collar on the dyed fabric.
4. Place the dyed rice in a dryer to remove excess color and add a final dye layer.
Drying the rice is optional, but it will help ground your piece with an exciting texture and distinctive effect. If you don’t have a dryer, you can just let the dry rice overnight on the newspaper while building up complex layers of color and texture with vibrant dyes over time inside your container.
5. Cooking or drying the rice. Rice should be cooked to add an extra color layer to the piece. Cooking will create a drier and darker dye, an essential step for dyeing raw rice for arts and crafts. The cooking process needs to be done in a well-ventilated area, preferably over the flame of a gas stove or alcohol stove.
6. Attach one end of the fabric to your reusable loop on dried rice, leaving the other free.
7. Using a sewing machine, sew the free end of the fabric to the dyed rice and felt.
The free end of the fabric should be attached to dry rice. The result is a tightly woven organic material that will not fray for long.
8. Use scissors to cut and shape your fabric as desired after completing the sewing.
9. Remove loose threads from your finished piece and add any other decorations you prefer! Your beautiful, hand-dyed, organic material is ready for use in arts and crafts projects.
Tips And Tricks
1. Dyeing With Blueberries Is A Popular But Risky Method Of Dyeing
Blueberries are very acidic and will easily stain your hands and clothing if you touch them. The dye can also stain the skin, hair, teeth, eyes, lips, and any other surface it comes in contact with. After using this method once or twice, it would be safer to use more gentle dyes like jams or food coloring.
2. Avoid Dyeing Rice In The Oven
When rice is placed into the oven to cook, air can’t circulate it for a long time because all windows are covered by the oven lid covering the pan’s whole top.
3. Use A Washbasin/Bucket Instead Of A Bowl If Possible
The washbasin is more extensive, so it can be easier to mix water evenly. It also has a lid to cover the dyed rice when you are not working on it. A bowl can be used if there is too much dye in the mixture and you need more space in your washbasin to hold all the rice.
Conclusion
We hope you enjoyed this comprehensive guide on how to dye rice. With a little creativity, the possibilities are endless! Be sure to experiment with different colors and techniques to create unique arts and crafts projects. And don’t forget to share your creations with us on social media. We can’t wait to see what you come up with!