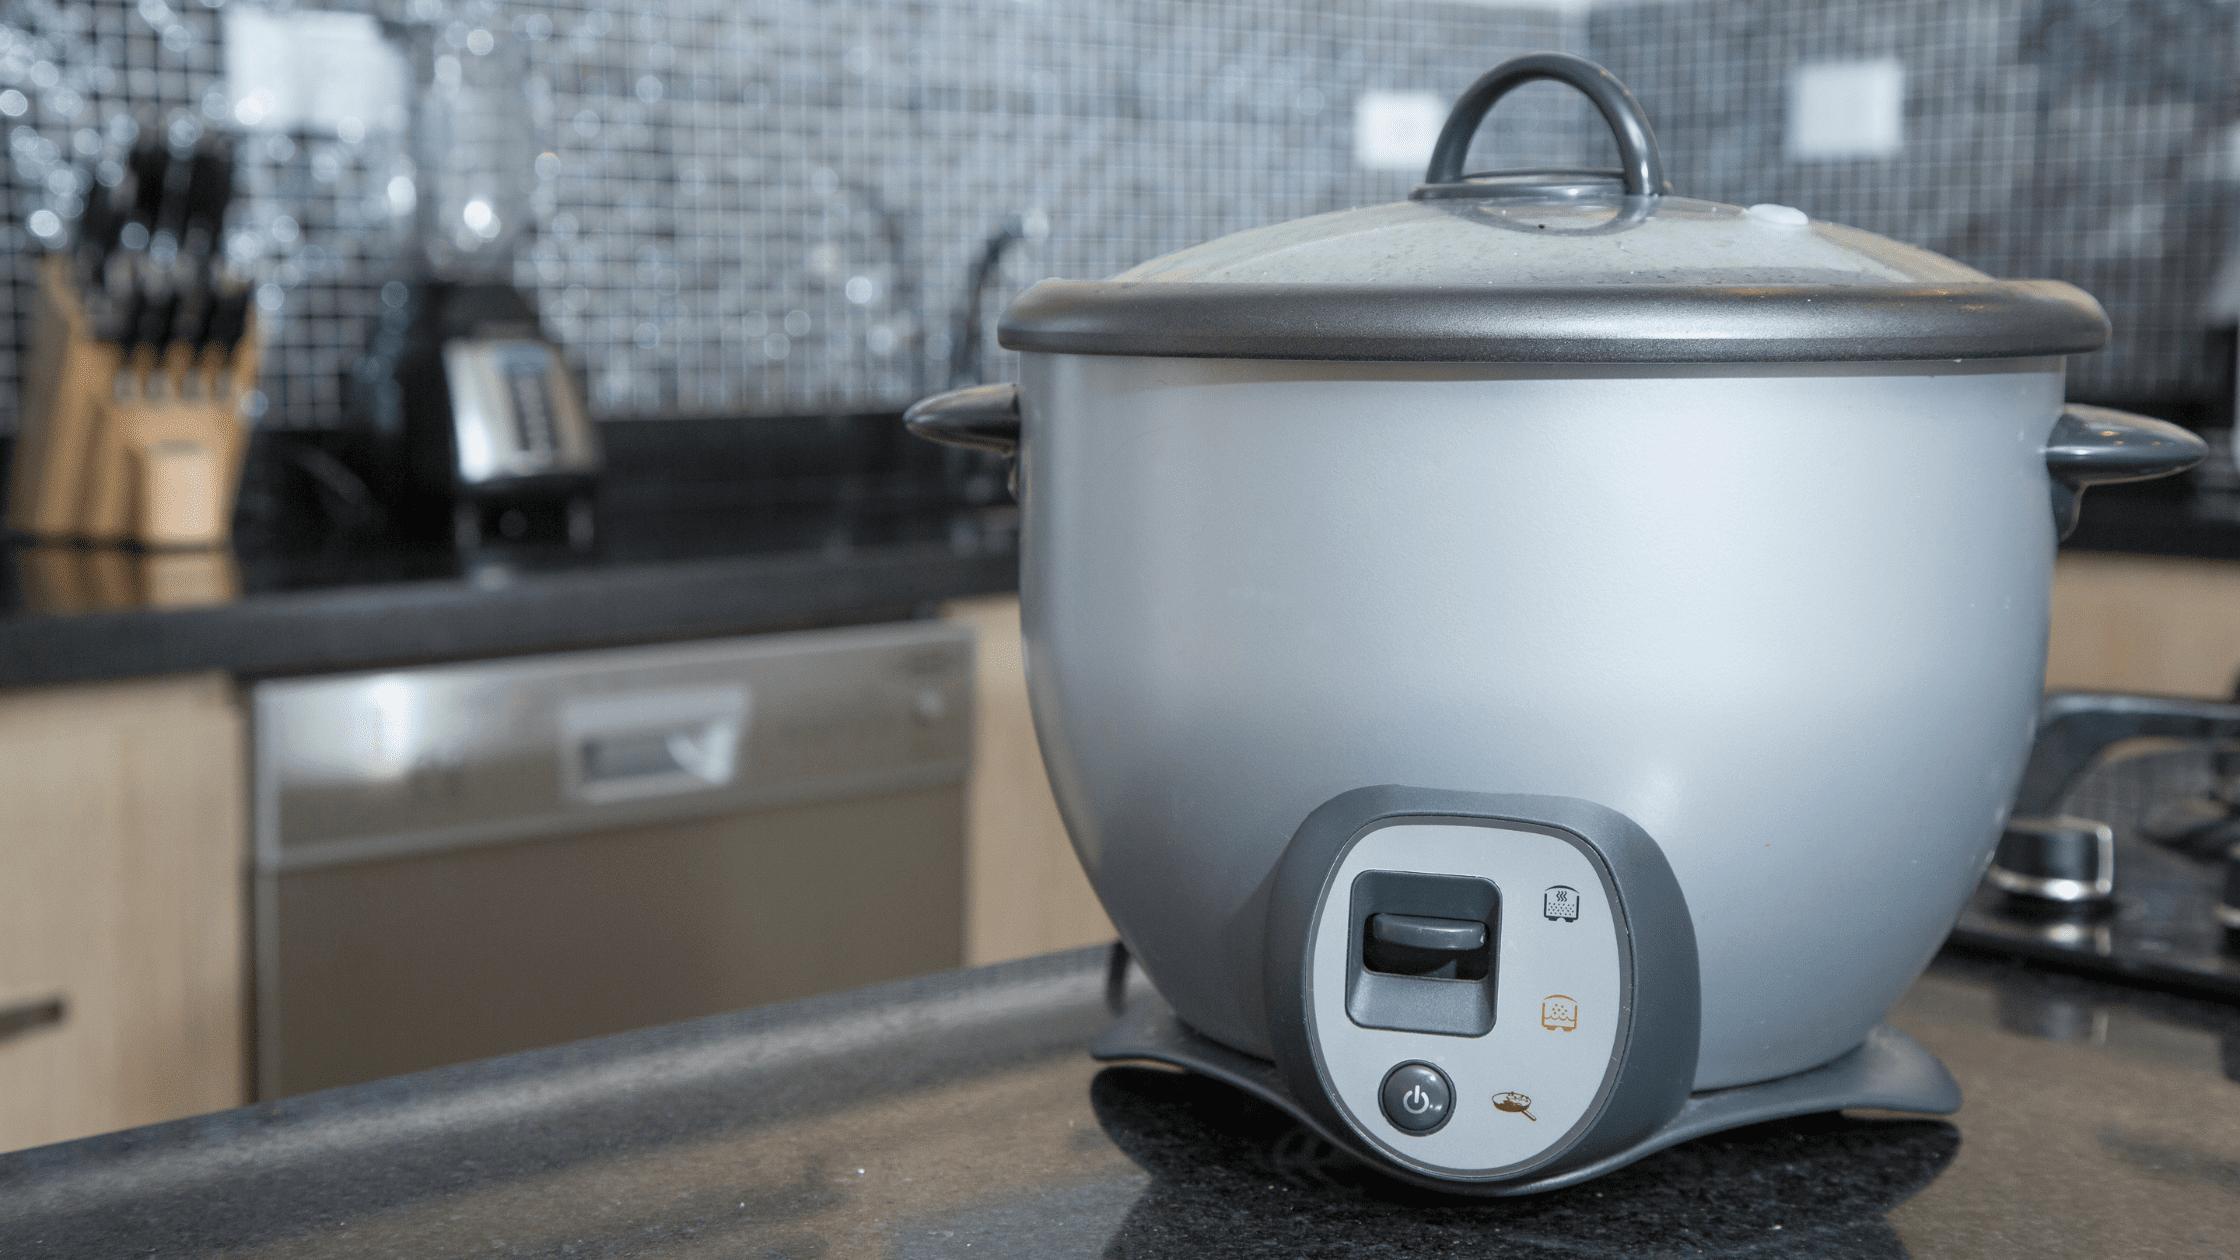
If your rice cooker isn’t working, the fuse may be blown. This is a common problem with rice cookers and is relatively easy to fix. In this blog post, we will walk you through the steps of replacing the fuse in your rice cooker. Keep in mind that different rice cookers may have different instructions, so be sure to consult your owner’s manual if you are not sure how to proceed.
What can go wrong with a rice cooker?
There are several things that can go wrong with a rice cooker, but the most common problem is that the fuse blows. This can happen for a variety of reasons, such as if the rice cooker is overloaded or if there is a power surge. If the fuse does blow, it will need to be replaced in order to get the rice cooker working again.
How to identify a blown fuse?
Blown fuses are electric disruptions caused by current overloads or voltage spikes. This simply means too much electricity is flowing through the circuit for the fuse to handle. Fuses are designed to “blow”, or disconnect when this happens so that the current doesn’t overheat and cause a fire. But how can you tell if a fuse has blown? Well, there are a few tell-tale signs.
First, check to see if the fuse has blackened or melted. This is a sure sign that it has blown.
Second, see if there is any visible damage to the fuse wire. If the wire looks charred or burned, it has probably blown.
Finally, try testing the fuse with a multimeter. If it shows no continuity, then it has definitely blown and needs to be replaced.
Signs that will indicate that the fuse in your rice cooker has blown
If you’re the type of person who loves making rice but hates having to keep an eye on it, then a rice cooker is a kitchen appliance you should consider investing in. However, even the best rice cookers can run into trouble from time to time. One common issue is a blown fuse. Here are a few signs that will indicate that the fuse in your rice cooker has blown:
– The rice cooker won’t turn on when you plug it in.
– There’s an unpleasant burning smell coming from the rice cooker.
– The rice cooker suddenly stops cooking in the middle of a cycle.
If you notice any of these signs, it’s best to unplug the rice cooker and take a look at the fuse. If it’s burned out, you’ll need to replace it before using the rice cooker again. Fortunately, most Rice cookers come with replacement fuses, so this is usually a quick and easy fix.
The steps on how to replace a fuse
There’s nothing quite like the feeling of your power going out in the middle of a hot summer day. Or maybe it’s the middle of a cold winter night. Either way, you’re stuck in the dark until you can get your fuse replaced. But don’t worry, it’s not as difficult as it sounds. Here are the steps to replacing a fuse:
1. Locate your fuse box and identify the blown fuse.
2. Remove the old fuse and insert a new one of the same size and rating.
3. Replace the fuse box cover and screw it into place.
4. Test your new fuse by flipping the switch or plugging in an appliance.
5. If everything is working, enjoy your newfound power! If not, repeat steps 2-4 until you find the right fuse.
Replacing the fuse in your rice cooker is a relatively easy process, but it’s important to consult your owner’s manual before proceeding. Different rice cookers may have different instructions, so be sure to follow the steps that are specific to your rice cooker. With a little bit of patience and attention to detail, you’ll have your rice cooker up and running in no time!
Tips for preventing blown fuses in the future
- Blown fuses are never fun, but luckily there are some easy ways to prevent them in the future. Here are a few tips:
- Always use the correct size fuse for your rice cooker. A bigger fuse won’t protect your rice cooker any better – it will just blow more quickly.
- If you frequently blow fuses, it’s a good idea to upgrade to a rice cooker with a higher wattage rating. This will give you some extra margin for error.
- Be careful not to overload your rice cooker. This is one of the most common causes of blown fuses. If you’re cooking a large batch of rice, it’s best to do it in two batches.
- Make sure your rice cooker is properly ventilated. If it’s constantly running hot, this can eventually lead to a blown fuse. Keep it away from any heat sources and make sure the vents are clear.
By following these simple tips, you can help prevent blown fuses in the future.
Troubleshooting common problems with rice cookers
Anyone who’s ever tried to make rice without a rice cooker knows that it’s practically impossible to get the proportions right. Too much water and you’ll end up with a mushy mess, too little and your rice will be dry and crumbly. Thankfully, rice cookers take the guesswork out of making rice, but even the best rice cookers can experience problems from time to time. Here are some troubleshooting tips for common rice cooker problems:
If your rice is cooked but still wet, the problem may be that you’re using too much water. Try reducing the amount of water next time you make rice. If your rice is dry and crumbly, you may be using too little water. Again, try increasing the amount of water next time.
If your rice isn’t cooking evenly, it’s possible that your rice cooker isn’t heating evenly. This can be a problem with cheaper rice cookers, so if you’re experiencing this issue it may be time to invest in a better quality rice cooker. Finally, if your rice is sticking to the bottom of the pot, it’s likely because you’re not using enough water. Add a bit more water next time and stir well before cooking. With these troubleshooting tips, you should be able to fix any rice cooker problem you come across.
Conclusion:
So there you have it, our step-by-step guide to replacing a rice cooker fuse. We hope this was helpful and that your rice cooker is up and running again in no time! And be sure to check out our other blog posts for more tips on how to use a rice cooker. Thanks for reading!