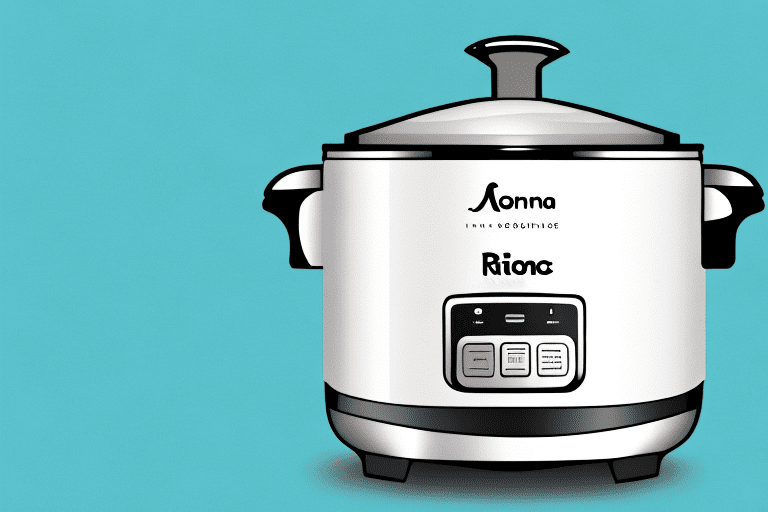
If your Aroma Rice Cooker stops working unexpectedly, it may have accidentally blown a fuse. Luckily, you can easily change the fuse yourself and get your rice cooker up and running again. This guide will walk you through the replacement process.
Tools Needed for Fuse Replacement
You won’t need any specialized tools to replace the fuse in the Aroma Rice Cooker. Before beginning the replacement process, make sure you have the following items:
- A new equivalent fuse designed for Aroma Rice Cookers
- Small Phillips head screwdriver
- Needle-nose pliers
It is also important to make sure you have a safe working environment. Make sure the area is well-ventilated and free of any flammable materials. Additionally, make sure you are wearing protective gloves and eyewear to protect yourself from any potential hazards.
Understanding the Fuse in an Aroma Rice Cooker
Inside the Aroma Rice Cooker, there is a small cylindrical component that looks like a pencil eraser. This component is the fuse, and it acts as a circuit breaker. If too much current is sent to the circuit board, the fuse will trip and blow, cutting power to the board.
The fuse is designed to protect the circuit board from damage due to an overload of current. If the fuse does blow, it will need to be replaced in order to restore power to the circuit board. It is important to use the correct type of fuse for the Aroma Rice Cooker, as using the wrong type of fuse can cause further damage to the circuit board.
Locating the Fuse
Once you have gathered all of the necessary tools, locate the fuse by unplugging the power cord from the back of your Aroma Rice Cooker, and then removing the two screws on the rear panel with the Phillips head screwdriver. Lift up the rear panel, and use your needle nose pliers to remove the existing fuse.
Once the fuse is removed, inspect it for any signs of damage or corrosion. If the fuse appears to be in good condition, you can reinstall it. If the fuse is damaged, you will need to replace it with a new one. Make sure to use a fuse with the same amperage rating as the original.
Removing the Old Fuse
Make sure all power is removed from your Aroma Rice Cooker before replacing the old fuse. Carefully use the needle nose pliers to grasp and pull the old fuse out of its slot. Once you have removed the old fuse, inspect it for any visible signs of damage. If the fuse appears to be charred or burned in any way, inspect the rest of your Aroma Rice Cooker for any signs of corrosion or electrical damage.
If you find any signs of corrosion or electrical damage, it is best to replace the entire Aroma Rice Cooker. If the fuse appears to be in good condition, you can replace it with a new fuse of the same size and rating. Make sure to securely insert the new fuse into the slot and turn the power back on to your Aroma Rice Cooker.
Installing a New Fuse
Once you are satisfied that there is no further damage to your Aroma Rice Cooker, you are ready to install a new fuse. Make sure to purchase an equivalent fuse designed for Aroma Rice Cookers. Place your new fuse in the power socket and carefully press it into place. Once the fuse is snugly in place, you can reinstall the rear panel.
Before you plug the Aroma Rice Cooker back in, it is important to double-check that the fuse is securely in place. If the fuse is not properly installed, it could cause further damage to the appliance. Once you are sure that the fuse is secure, you can plug the Aroma Rice Cooker back in and turn it on. Your Aroma Rice Cooker should now be ready to use.
Testing the New Fuse
To make sure that everything is working properly, plug in the power cord and power up your Aroma Rice Cooker. If the device powers on successfully, then the new fuse was installed correctly. If not, double check to make sure that the new fuse was fit into place securely.
If the device still does not power on after double checking the fuse, it is possible that the fuse is not the issue. In this case, it is recommended to consult the user manual for further troubleshooting steps or contact the manufacturer for assistance.
Troubleshooting Tips for Replacing the Fuse
If you have any questions or concerns while replacing the fuse in your Aroma Rice Cooker, contact either your local retailer or Aroma customer support. If you believe that there may be another issue with your rice cooker that is affecting its performance, make sure to hire a professional to inspect it.
Before attempting to replace the fuse, make sure to unplug the rice cooker from the power source and allow it to cool down. Additionally, make sure to wear protective gloves and eyewear to avoid any potential injuries. Once the fuse has been replaced, plug the rice cooker back in and test it to make sure it is working properly.