If you’re a fan of rice pilaf and own a Power Pressure Cooker XL, you’re in luck! This versatile kitchen appliance can help you create flavorful and fluffy rice pilaf in no time. In this article, we’ll walk you through the process of making rice pilaf in a Power Pressure Cooker XL, from understanding the key features of the cooker to serving and storing your delicious creation. So let’s get started!
Understanding the Power Pressure Cooker XL
Before we dive into the world of rice pilaf, let’s take a moment to understand the Power Pressure Cooker XL. This handy appliance combines the capabilities of a pressure cooker, slow cooker, rice cooker, and more into one sleek device. With its digital controls and preset cooking programs, it takes the guesswork out of cooking and delivers consistent results every time. So whether you’re a seasoned chef or a beginner in the kitchen, the Power Pressure Cooker XL is sure to become your new best friend.
The Power Pressure Cooker XL is not just your average kitchen appliance. It is a powerhouse that revolutionizes the way you cook. Let’s explore some of its key features that make it a must-have in your kitchen.
Key Features of the Power Pressure Cooker XL
To make the most of your cooking experience, it’s important to familiarize yourself with the key features of the Power Pressure Cooker XL. Here are some standout features that make this appliance a must-have in your kitchen:
- Multiple Cooking Functions: The Power Pressure Cooker XL offers a wide range of cooking functions, including pressure cooking, slow cooking, sautéing, steaming, and more. This versatility allows you to prepare a variety of dishes with ease. Imagine the convenience of being able to whip up a delicious stew, tenderize meat, or even make homemade yogurt all in one pot.
- Large Capacity: With its generous capacity, the Power Pressure Cooker XL can handle large batches of rice pilaf, making it perfect for feeding a crowd or meal prepping. No more worrying about not having enough food for everyone or spending hours in the kitchen cooking multiple batches. This appliance allows you to cook in bulk, saving you time and effort.
- Digital Controls: The intuitive digital controls make it easy to set the cooking time, pressure level, and other variables to ensure precise results. Gone are the days of guesswork and constant monitoring. With the Power Pressure Cooker XL, you can simply set it and forget it. The cooker will do all the work for you, leaving you with more time to relax or attend to other tasks.
- Preset Programs: The cooker comes with preset programs for various types of rice, including white rice, brown rice, and even risotto. These programs take the guesswork out of cooking rice and deliver perfect results every time. No more undercooked or mushy rice. The Power Pressure Cooker XL knows exactly how to cook each type of rice to perfection, ensuring fluffy grains that will impress even the toughest food critic.
- Safety Features: The Power Pressure Cooker XL is equipped with multiple safety features, such as a locking lid and pressure release valve, to ensure safe and hassle-free cooking. You can have peace of mind knowing that this appliance is designed with your safety in mind. Cooking under pressure has never been this safe and easy.
Safety Tips for Using the Power Pressure Cooker XL
Before we move on to the rice pilaf preparation, let’s talk about a few safety tips to keep in mind when using the Power Pressure Cooker XL:
- Read the Manual: Familiarize yourself with the user manual and follow the manufacturer’s instructions for safe and proper use of the cooker. The manual contains valuable information on how to operate the cooker, as well as important safety precautions that you should be aware of.
- Release Pressure Safely: Always release the pressure from the cooker before opening the lid. Follow the recommended method in the user manual to avoid any accidents. The pressure inside the cooker can be extremely high, and releasing it improperly can lead to dangerous situations. Take the time to learn the correct procedure and always prioritize safety.
- Handle with Care: The cooker’s inner pot and its handles can get hot during and after cooking. Use oven mitts or kitchen towels to handle the pot safely. Burns and accidents can easily be prevented by taking simple precautions. Remember, safety should always be your top priority in the kitchen.
- Use Proper Venting: Make sure the pressure release valve is in the correct position for venting or sealing, depending on the recipe you’re preparing. Proper venting allows steam to escape, while sealing traps the steam inside the cooker to build pressure. Using the correct venting or sealing position ensures that your food cooks properly and prevents any mishaps.
- Clean and Maintain: Regularly clean the cooker and its accessories according to the manufacturer’s instructions to ensure optimal performance and longevity. Proper maintenance not only extends the lifespan of your appliance but also ensures that it operates safely and efficiently. Taking a few minutes to clean and care for your Power Pressure Cooker XL will pay off in the long run.
The Basics of Rice Pilaf
Now that you’re well-acquainted with the Power Pressure Cooker XL, let’s delve into the basics of rice pilaf. Rice pilaf is a delicious and versatile dish that originated in the Middle East and has since become popular worldwide. It’s made by sautéing rice in oil or butter and then cooking it with flavorful broth or stock, along with various herbs, spices, and additional ingredients. The result is a fragrant and fluffy rice dish that pairs perfectly with a wide range of main courses. A classic Greek rice pilaf recipe often includes ingredients such as onions, garlic, and lemon zest, which infuse the rice with layers of savory and citrusy flavors. The Power Pressure Cooker XL is an ideal appliance for making rice pilaf since it can quickly and efficiently cook the rice to the perfect texture while enhancing its natural flavors. With the right recipe and the right technique, you can easily create a delicious and satisfying rice pilaf to complement any meal.
Origins and Variations of Rice Pilaf
Rice pilaf has a rich history that dates back centuries. It originated in the Middle East, where it was considered a luxurious dish fit for royalty. Over time, it spread to other parts of the world and underwent various regional adaptations. Today, you can find countless variations of rice pilaf, each with its own unique combination of flavors and ingredients. Some popular variations include Turkish pilaf, Indian biryani, and Spanish paella.
Essential Ingredients for Rice Pilaf
While the flavor profile of rice pilaf may vary depending on the recipe, there are a few essential ingredients that remain consistent across most variations. Here’s a list of ingredients you’ll typically need to make rice pilaf:
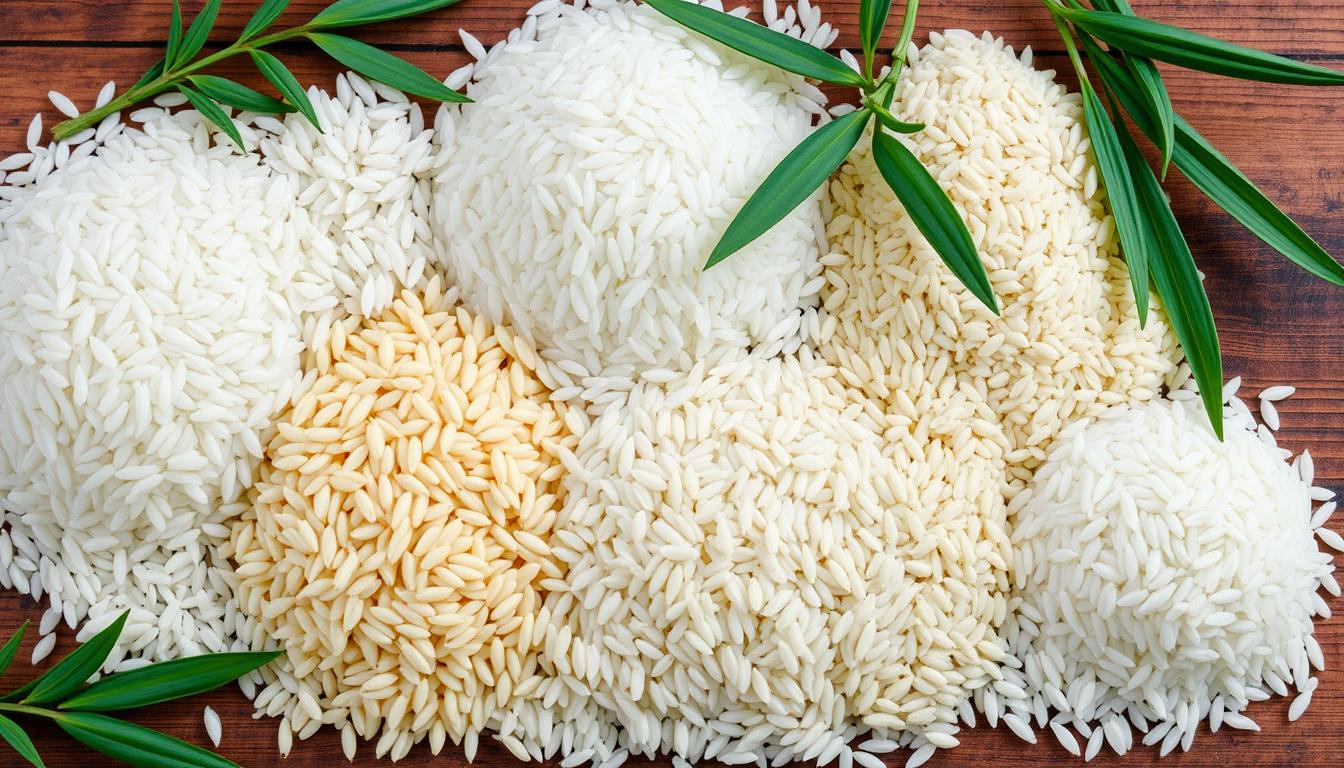
- Rice: The star of the dish! Long-grain rice, such as basmati or jasmine, is commonly used for its fluffy texture and fragrant aroma. However, you can experiment with different types of rice to achieve different results.
- Broth or Stock: To infuse the rice with flavor, you’ll need a liquid component. Vegetable, chicken, or beef broth works well, but you can also use water if you prefer a milder taste.
- Aromatics: Aromatics like onions, garlic, and shallots add depth and complexity to the dish. They are typically sautéed in oil or butter before adding the rice.
- Herbs and Spices: To elevate the flavor of the pilaf, you can add a variety of herbs and spices. Popular options include bay leaves, thyme, rosemary, cumin, and turmeric. These ingredients add layers of aromatic goodness.
- Add-ins: To customize your rice pilaf, you can incorporate various add-ins such as chopped vegetables, dried fruits, nuts, or cooked proteins like chicken or shrimp.
Preparing Rice Pilaf in Power Pressure Cooker XL
Now that we have a good understanding of rice pilaf and the Power Pressure Cooker XL, it’s time to put them together and create a delicious batch of rice pilaf. Here’s a step-by-step guide to cooking rice pilaf in the Power Pressure Cooker XL:
Step-by-Step Guide to Cooking Rice Pilaf
1. Gather all the necessary ingredients and set them aside.
2. Select the sauté function on the Power Pressure Cooker XL and heat oil or butter in the cooker’s inner pot.
3. Add the aromatics, such as diced onions, minced garlic, and shallots, to the pot. Sauté until they become translucent and fragrant.
4. Add the rice to the pot and stir well to coat it with the oil or butter, allowing the grains to toast slightly.
5. Pour in the broth or stock, ensuring that it covers the rice completely. Use the recommended ratio of liquid to rice indicated in your recipe.
6. Add any additional herbs, spices, or add-ins to the pot, stirring gently to distribute the flavors.
7. Lock the lid of the cooker securely in place and set the pressure cooking function according to the type of rice you’re using. Follow the cooker’s manual for specific recommendations on cooking time and pressure levels.
8. Once the cooking program is complete, allow the pressure to release naturally or use the quick release method as suggested by the user manual.
9. Carefully remove the lid, fluff the rice with a fork, and let it sit for a few minutes to allow any excess moisture to evaporate.
10. Your rice pilaf is now ready to be served! Garnish it with fresh herbs, if desired, and enjoy it as a side dish or main course.
Adjusting Cooking Time for Different Rice Varieties
The cooking time required may vary depending on the type of rice you choose for your pilaf. Here’s a general guideline to help you adjust the cooking time accordingly:
| Rice Variety | Cooking Time (Pressure Cooking) |
|---|---|
| White Rice | 6-8 minutes |
| Brown Rice | 20-22 minutes |
| Basmati Rice | 6-8 minutes |
| Jasmine Rice | 4-6 minutes |
| Wild Rice Blend | 25-30 minutes |
Keep in mind that these cooking times are approximate and may vary based on the specific brand of rice and the desired texture of your pilaf. Always refer to the instructions on the rice packaging for the most accurate cooking times.
Tips for Perfect Rice Pilaf in Power Pressure Cooker XL
Now that you know how to cook rice pilaf in the Power Pressure Cooker XL, let’s explore some tips and tricks to ensure your dish turns out perfectly every time.
Choosing the Right Rice for Pilaf
While long-grain rice, such as basmati or jasmine, is commonly used for rice pilaf, you can experiment with other varieties as well. Each rice variety has its own unique flavor and texture, so feel free to explore different options to find your favorite.
Troubleshooting Common Issues
Sometimes, despite following the recipe and instructions, you may encounter a few common issues when cooking rice pilaf. Here are some troubleshooting tips to help you overcome these challenges:
- Rice too mushy: If your rice turns out mushy, try reducing the cooking time slightly or using less liquid in the recipe.
- Rice too dry: If your rice appears dry, try increasing the amount of liquid or reducing the cooking time slightly.
- Burnt bottom: To prevent the rice from sticking or burning at the bottom, ensure that you’re using enough oil or butter to coat the grains and that you’re stirring well during the sautéing process.
- Unevenly cooked rice: If the rice at the top of the pot is cooked perfectly, but the rice at the bottom is still undercooked, try stirring the rice gently halfway through the cooking process to distribute the heat more evenly.
Serving and Storing Rice Pilaf
Once your rice pilaf is ready, it’s time to serve and enjoy it! Here are a few ideas for serving your delicious creation:
Best Side Dishes for Rice Pilaf
Rice pilaf pairs well with a variety of side dishes and main courses. Here are a few options to consider when planning your meal:
- Grilled or Roasted Vegetables: The earthy flavors of grilled or roasted vegetables complement the aromatic and mild flavors of rice pilaf perfectly.
- Herb-Roasted Chicken: A succulent and flavorful herb-roasted chicken is an excellent choice to serve alongside a bowl of fluffy rice pilaf.
- Seared Shrimp: If you prefer seafood, seared shrimp seasoned with garlic and lemon pairs wonderfully with the fragrant and slightly tangy notes of rice pilaf.
How to Store and Reheat Leftover Rice Pilaf
If you have any leftovers, don’t worry! Rice pilaf can be easily stored and enjoyed later. Here’s how to store and reheat your leftover rice pilaf:
- Storage: Transfer the cooled rice pilaf to an airtight container or a resealable bag. Store it in the refrigerator for up to 3-4 days.
- Reheating: When you’re ready to enjoy the leftovers, you can reheat the rice pilaf in the microwave or on the stovetop. Add a splash of water or broth to moisten the rice before reheating to prevent it from drying out.
Frequently Asked Questions (FAQs)
Here are some frequently asked questions about cooking rice pilaf in the Power Pressure Cooker XL:
- Q: Can I use brown rice instead of white rice for rice pilaf?
A: Yes, you can substitute brown rice for white rice in rice pilaf recipes. Just keep in mind that brown rice typically requires a longer cooking time and may need slightly more liquid. - Q: Can I freeze cooked rice pilaf?
A: Yes, you can freeze cooked rice pilaf for future use. Allow the rice pilaf to cool completely before transferring it to freezer-safe containers or bags. Label them with the date and store in the freezer for up to 3 months. - Q: Can I use vegetable broth to make rice pilaf vegetarian?
A: Absolutely! Vegetable broth is a great option for making vegetarian rice pilaf. It adds a nice depth of flavor without the use of meat-based broths. - Q: Can I add meat to rice pilaf?
A: If you’d like to add meat to your rice pilaf, it’s best to cook it separately and then mix it with the pilaf after both components are cooked. This way, you can control the cooking time and ensure that the meat is fully cooked and tender. - Q: Can I use the pressure cooking function for other recipes besides rice pilaf?
A: Absolutely! The pressure cooking function of the Power Pressure Cooker XL can be used for a wide range of recipes, from soups and stews to roasts and desserts. Refer to the user manual for specific cooking times and instructions for each type of dish. - Q: Can I adjust the seasoning in rice pilaf to suit my taste?
A: Absolutely! The great thing about rice pilaf is its versatility. Feel free to adjust the seasonings, herbs, and spices according to your taste preferences. You can also experiment with different add-ins to customize the flavor to your liking. - Q: Can I use frozen vegetables in rice pilaf?
A: Yes, you can use frozen vegetables in rice pilaf. Just make sure to thaw them before adding them to the pot. Alternatively, you can sauté them separately before adding them to the cooked rice pilaf.
Now that you have all the knowledge and tips you need, it’s time to put your Power Pressure Cooker XL to work and create a delicious batch of rice pilaf. Enjoy the flavorful and satisfying results with your family and friends, and don’t forget to experiment with different variations and ingredients to make it your own. Happy cooking!