Rice cookers have become a must-have kitchen appliance, especially for those who love rice dishes. Among the popular brands in the market, Oster stands out with its innovative rice cooker with two settings. This rice cooker is a game-changer for rice enthusiasts, as it offers not only convenience but versatility as well. In this article, we’ll look at everything you need to know about using the Oster Rice Cooker 2 Settings.
How to Use Oster Rice Cooker with 2 Settings
Using the Oster Rice Cooker is easy. First, you need to measure the desired amount of raw rice and rinse it in cold water. Then, place the rice in the inner pot and add the corresponding amount of water according to the rice type and the desired consistency. Choose the setting that suits the type of rice and your preference. Next, press the on button, and the rice cooker will start cooking the rice. The appliance will automatically switch to the keep-warm mode once the rice is cooked.
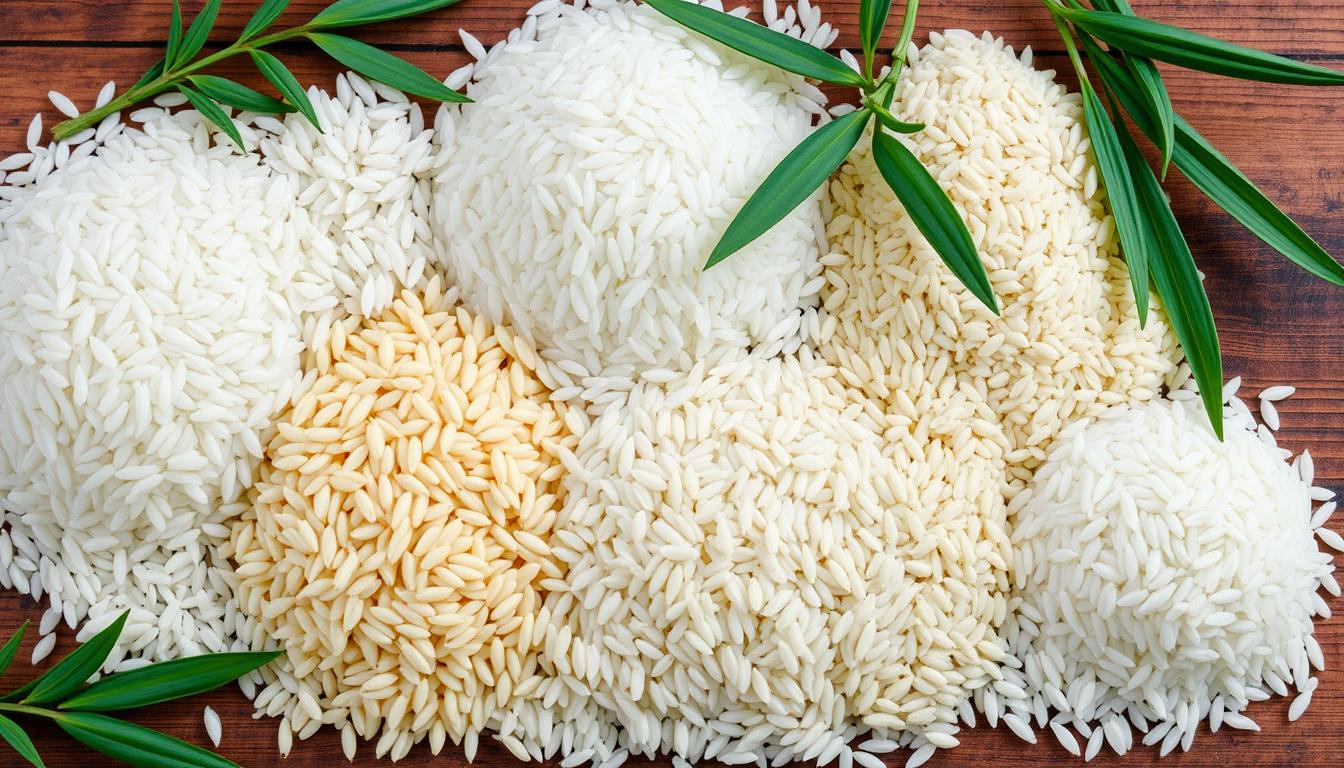
It is important to note that the Oster Rice Cooker comes with two settings: white rice and brown rice. The white rice setting is ideal for cooking short-grain or medium-grain white rice, while the brown rice setting is perfect for cooking long-grain brown rice. If you are unsure about the type of rice you have, check the packaging or consult the manufacturer’s instructions.
Another useful feature of the Oster Rice Cooker is its ability to steam vegetables and other foods while the rice is cooking. Simply place the vegetables or other foods in the steaming basket provided, and place it on top of the inner pot. The steam from the cooking rice will cook the vegetables or other foods to perfection, making it a great time-saving option for busy weeknights.
Differences between Oster Rice Cooker’s 2 Settings
Oster Rice Cooker 2 Settings offers two cooking settings: “White Rice” and “Whole Grain.” The white rice setting is perfect for cooking different varieties of white rice, including short-grain, medium-grain, and long-grain rice. The whole grain setting is designed for cooking brown rice, quinoa, and other whole grains. With this setting, the rice cooker takes a little longer to cook the grains and allows them to soak in water before cooking. This ensures that the grains are cooked evenly and thoroughly.
Another advantage of the whole grain setting is that it allows you to cook a variety of grains at once. You can add different types of grains, such as quinoa, barley, and wild rice, to the cooker and let them cook together. This is a great way to create a healthy and flavorful side dish or main course.
It is important to note that the cooking time for each setting may vary depending on the amount of rice or grains you are cooking. The rice cooker comes with a measuring cup and instructions on how much water to add for each setting. It is recommended to follow the instructions carefully to ensure the best results.
Which Setting to Use for Perfect Rice Every Time?
The choice of setting depends on the type of rice or grain you’re cooking and how you want it to turn out. If you’re making white rice, use the white rice setting for a fluffy and flavorful consistency. If you’re cooking brown rice or whole grains, go for the whole grain setting for a nutty, rich texture. Remember to adjust the amount of water you use, comply with the given instructions and timings for different rice varieties.
It’s important to note that some rice cookers also have a sushi setting, which is specifically designed for making sushi rice. This setting typically uses less water and a longer cooking time to achieve the sticky texture needed for sushi. If you’re a fan of sushi, it’s worth checking if your rice cooker has this setting and giving it a try.
Understanding the Benefits of Oster Rice Cooker 2 Settings
The Oster Rice Cooker with 2 Settings offers several benefits compared to traditional stovetop cooking. The appliance provides precise temperature control, ensuring that the rice is cooked evenly without burning or sticking to the pot. The keep-warm function keeps the rice at the perfect temperature until it’s ready to be served, while the automated cooking process saves you time and allows for more hands-off cooking.
In addition to these benefits, the Oster Rice Cooker with 2 Settings also allows you to cook different types of rice, such as white, brown, and wild rice, with ease. The appliance comes with a measuring cup and a serving spatula, making it easy to measure the right amount of rice and serve it without scratching the non-stick surface of the pot. The compact size of the rice cooker also makes it easy to store in your kitchen, without taking up too much space on your countertop or in your cabinets.
How to Clean and Maintain Your Oster Rice Cooker with 2 Settings
Proper maintenance and cleaning of the Oster Rice Cooker with 2 Settings are important to ensure prolonged usage. Every time you use your Oster rice cooker, unplug it and wait for it to cool down before cleaning. Wipe down the exterior of the appliance with a damp cloth, and thoroughly clean the inner pot and lid after every use. Avoid using abrasive materials or harsh chemicals that may damage the coating. Also, store your rice cooker in a dry place free from moisture and dust.
It is also important to descale your Oster Rice Cooker with 2 Settings regularly to prevent mineral buildup. To do this, mix equal parts of water and white vinegar and fill the inner pot up to the halfway mark. Turn on the rice cooker and let the mixture boil for about 30 minutes. Then, turn off the rice cooker and let it cool down before discarding the mixture and rinsing the pot and lid thoroughly with water.
Additionally, if you notice any damage or wear and tear on the inner pot or lid, it is recommended to replace them to ensure the best performance of your Oster Rice Cooker with 2 Settings. You can easily find replacement parts online or at your local appliance store.
Recipes Perfect for Oster Rice Cooker’s 2 Settings
You can use the Oster Rice Cooker with 2 Settings to cook a wide variety of dishes. Whether you’re cooking white rice, brown rice or other whole grains, there are plenty of recipes to try. Some popular dishes that you can cook with the Oster Rice Cooker include fried rice, rice pilaf, risotto, veggie and rice bowl, and many other grain recipes.easy and delicious.
In addition to these popular dishes, the Oster Rice Cooker can also be used to make soups, stews, and even desserts. For soups and stews, simply add your desired ingredients and let the rice cooker do the work. For desserts, try making rice pudding or even a chocolate lava cake. The possibilities are endless with the Oster Rice Cooker’s 2 Settings.
Tips and Tricks for Cooking Different Grains with Oster Rice Cooker’s 2 Settings
Cooking different grains with the Oster Rice Cooker requires a little bit of experimentation to get the process right. However, certain tips and tricks will make the cooking process easier and more efficient. One of the essential things to keep in mind is to rinse the grains thoroughly before cooking to remove debris and excess starch. Also, be sure to measure the water accurately and let the grains sit in the pot for a while before starting the cooking process. This allows for even, thorough cooking and absorption of moisture.
Another important tip is to use the correct setting on the Oster Rice Cooker for the type of grain you are cooking. The cooker has two settings, one for white rice and one for brown rice. If you are cooking a different type of grain, such as quinoa or barley, it is best to use the brown rice setting as it has a longer cooking time and higher temperature, which is necessary for these grains to cook properly.
Additionally, it is important to not open the lid of the Oster Rice Cooker during the cooking process. This can cause the steam to escape and disrupt the cooking process, resulting in unevenly cooked grains. It is best to wait until the cooking cycle is complete and the cooker has switched to the warm setting before opening the lid and fluffing the grains with a fork.
Comparing Oster Rice Cooker’s 2 Settings with Other Brands
When it comes to rice cookers, there are plenty of brands to choose from. However, Oster Rice Cooker stands out with its innovative features and precision temperature control. The two settings make it more versatile than other brands on the market, and the keep-warm function ensures that your rice stays warm and fresh even if you’re not quite ready to eat yet.
In addition to its versatile settings and keep-warm function, the Oster Rice Cooker also has a removable, non-stick inner pot that makes cleaning up a breeze. This feature is not always available in other rice cooker brands, and it saves you time and effort in the kitchen. Plus, the Oster Rice Cooker’s compact size makes it easy to store in your kitchen, without taking up too much counter space.
Why Oster Rice Cooker with 2 Settings is Worth the Investment?
The Oster Rice Cooker with 2 Settings is undoubtedly worth the investment for rice lovers. It saves time and effort while ensuring that the rice comes out perfect every time. The quality construction ensures durability and longevity of the appliance, and the ease-of-use makes it an essential kitchen appliance to own.
How to Troubleshoot Common Problems with Your Oster Rice Cooker’s 2 Settings
While using the Oster Rice Cooker with 2 Settings, you might encounter some problems like sticking rice, or the appliance not switching off or on. However, most of these problems are easy to troubleshoot. Ensure that you’re using the correct amount of water and rice according to the instructions. Also, check that the lid is firmly in place and that the pot is seated correctly on the heating plate. If the problem persists, refer to the user manual or contact the Oster Customer Service for assistance.
Step-by-Step Guide on Cooking Different Types of Rice with Oster Rice Cooker’s 2 Settings
To achieve the perfect rice consistency, it’s essential to follow the right process and measurements when cooking different types of rice with the Oster Rice Cooker with 2 Settings. Here’s a step-by-step guide to get you started:
White Rice:
1. Rinse the rice and add it to the inner pot.
2. Add water based on rice to water ratios and your preferred consistency.
3. Choose the white rice setting, and wait for the cooker to do its job.
Brown Rice:
1. Rinse the brown rice and add it to the inner pot.
2. Add water based on rice to water ratios and your preferred consistency.
3. Choose the whole grain setting and wait for the cooker to do its job.
Quinoa:
1. Rinse the quinoa and add it to the inner pot.
2. Add water based on rice to water ratios and your preferred consistency.
3. Choose the whole grain setting, and wait for the cooker to do its job.
In conclusion, the Oster Rice Cooker with 2 Settings is a fantastic appliance that offers unrivaled versatility, convenience and precision when it comes to cooking rice and other whole grains. With the information in this article, you can use the rice cooker to its full potential and enjoy delicious rice dishes with ease.